NSISインストーラ
Wailsでは、NSISインストーラを使用したWindowsインストーラの生成をサポートしています。
NSISのインストール
Windows
インストーラは、NSISダウンロードページから入手できます。
You can install with Scoop (which will automatically add it to your PATH):
scoop bucket add extras
scoop install nsis
Or, you can use Winget (on Windows 10+):
winget install NSIS.NSIS --silent
Chocolateyパッケージマネージャを使用している場合は、次のスクリプトを実行することでインストールできます:
choco install nsis
NOTE: If you install NSIS manually, you need to add the Bin folder, which contains makensis.exe, in your NSIS installation to your path. Windows上でパスを追加する方法については、こちらの優れたチュートリアルをご覧ください。
Linux
nsisパッケージは、ディストリビューションのパッケージマネージャから入手できます。
MacOS
NSISは、homebrew経由でインストールできます: brew install nsis。
インストーラの生成
新しくプロジェクトが作成されると、Wailsは、build/windows/installer内に、NSIS構成ファイルを生成します。 構成データはinstaller/info.jsonから読み込まれますが、当該データはプロジェクトのwails.jsonのInfo§の情報を使用するように設定されています:
// ...
"Info": {
"companyName": "My Company Name",
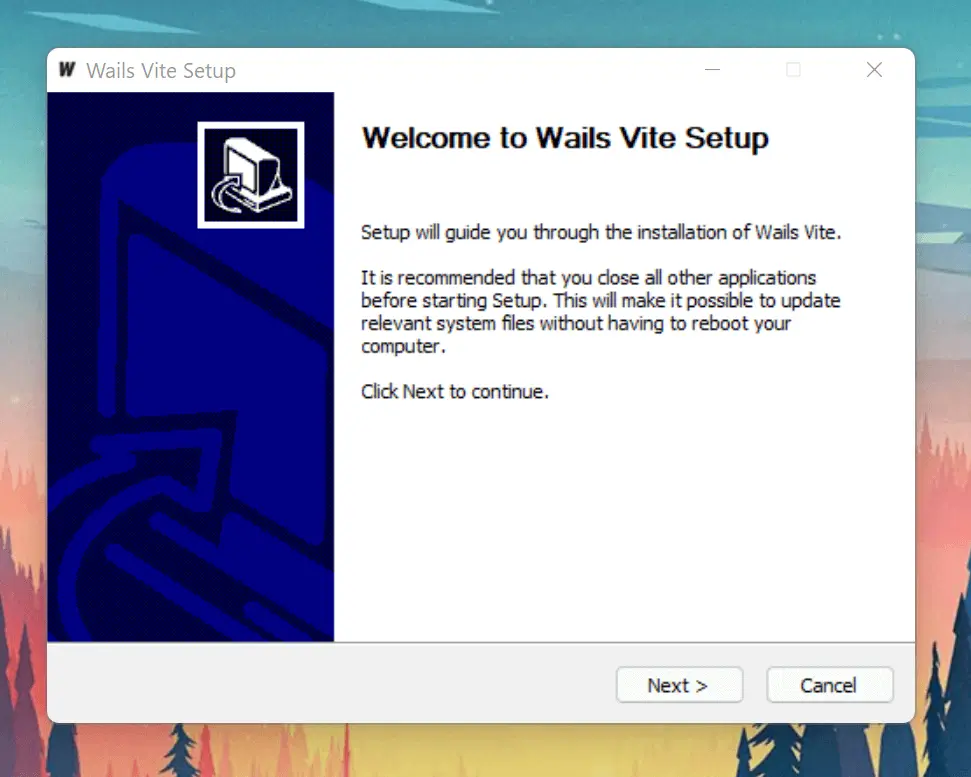
"productName": "Wails Vite",
"productVersion": "1.0.0",
"copyright": "Copyright.........",
"comments": "Built using Wails (https://wails.io)"
},
アプリケーションのインストーラを生成するには、wails buildコマンド実行時に、-nsisフラグを使用します:
wails build -nsis
これにより、build/binディレクトリにインストーラが生成されます。