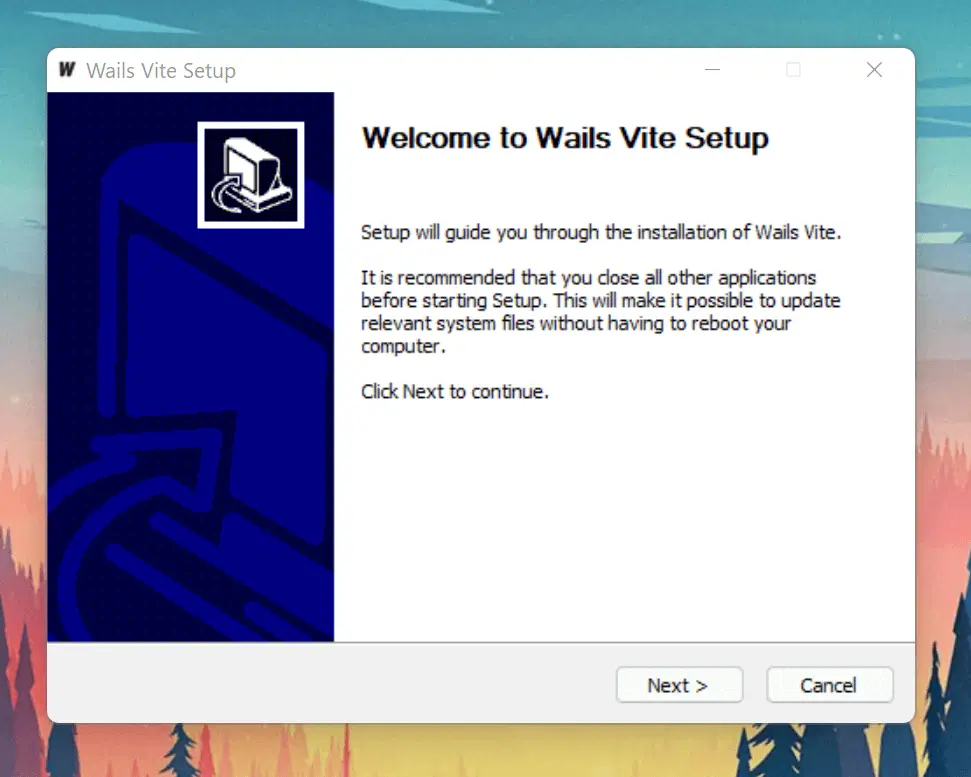
NSIS installer

Wails는 NSIS installer를 사용하여 Windows 인스톨러 생성을 지원합니다.
NSIS 설치하기
Windows
인스톨러는 NSIS Download 페이지에서 사용이 가능합니다.
You can install with Scoop (which will automatically add it to your PATH):
scoop bucket add extras
scoop install nsis
Or, you can use Winget (on Windows 10+):
winget install NSIS.NSIS --silent
만약 chocolatey 패키지 매니저를 사용한다면, 다음 스크립트를 실행하세요:
choco install nsis
NOTE: If you install NSIS manually, you need to add the Bin folder, which contains makensis.exe, in your NSIS installation to your path. 여기 Windows에서 어떻게 경로를 추가하는지에 대한 튜토리얼이 있습니다.
Linux
nsis 패키지는 사용자의 배포판 패키지 매니저를 통해 이용이 가능합니다.
MacOS
NSIS는 homebrew를 통해 설치가 가능합니다: brew install nsis.
인스톨러 생성하기
새로운 프로젝트가 생성되었을때, Wails는 NSIS 설정 파일을 build/windows/installer에 생성합니다. 설정 데이터는 installer/info.json로 부터 읽어오며 이 데이터는 이 프로젝트의 wails.json Info 섹션에서 설정되어 사용됩니다:
// ...
 "Info": {
    "companyName": "My Company Name",
    "productName": "Wails Vite",
    "productVersion": "1.0.0",
    "copyright": "Copyright.........",
    "comments": "Built using Wails (https://wails.io)"
  },
애플리케이션을 위한 인스톨러를 생성하기 위해 -nsis 플래그를 wails build와 함께 사용하세요:
wails build -nsis
이제 인스톨러는 build/bin 디렉토리에서 이용이 가능합니다.